Magnetic modules
Modules stack on top of each other and hold with magnets. Power and data connect by themselves, with no wires or soldering.
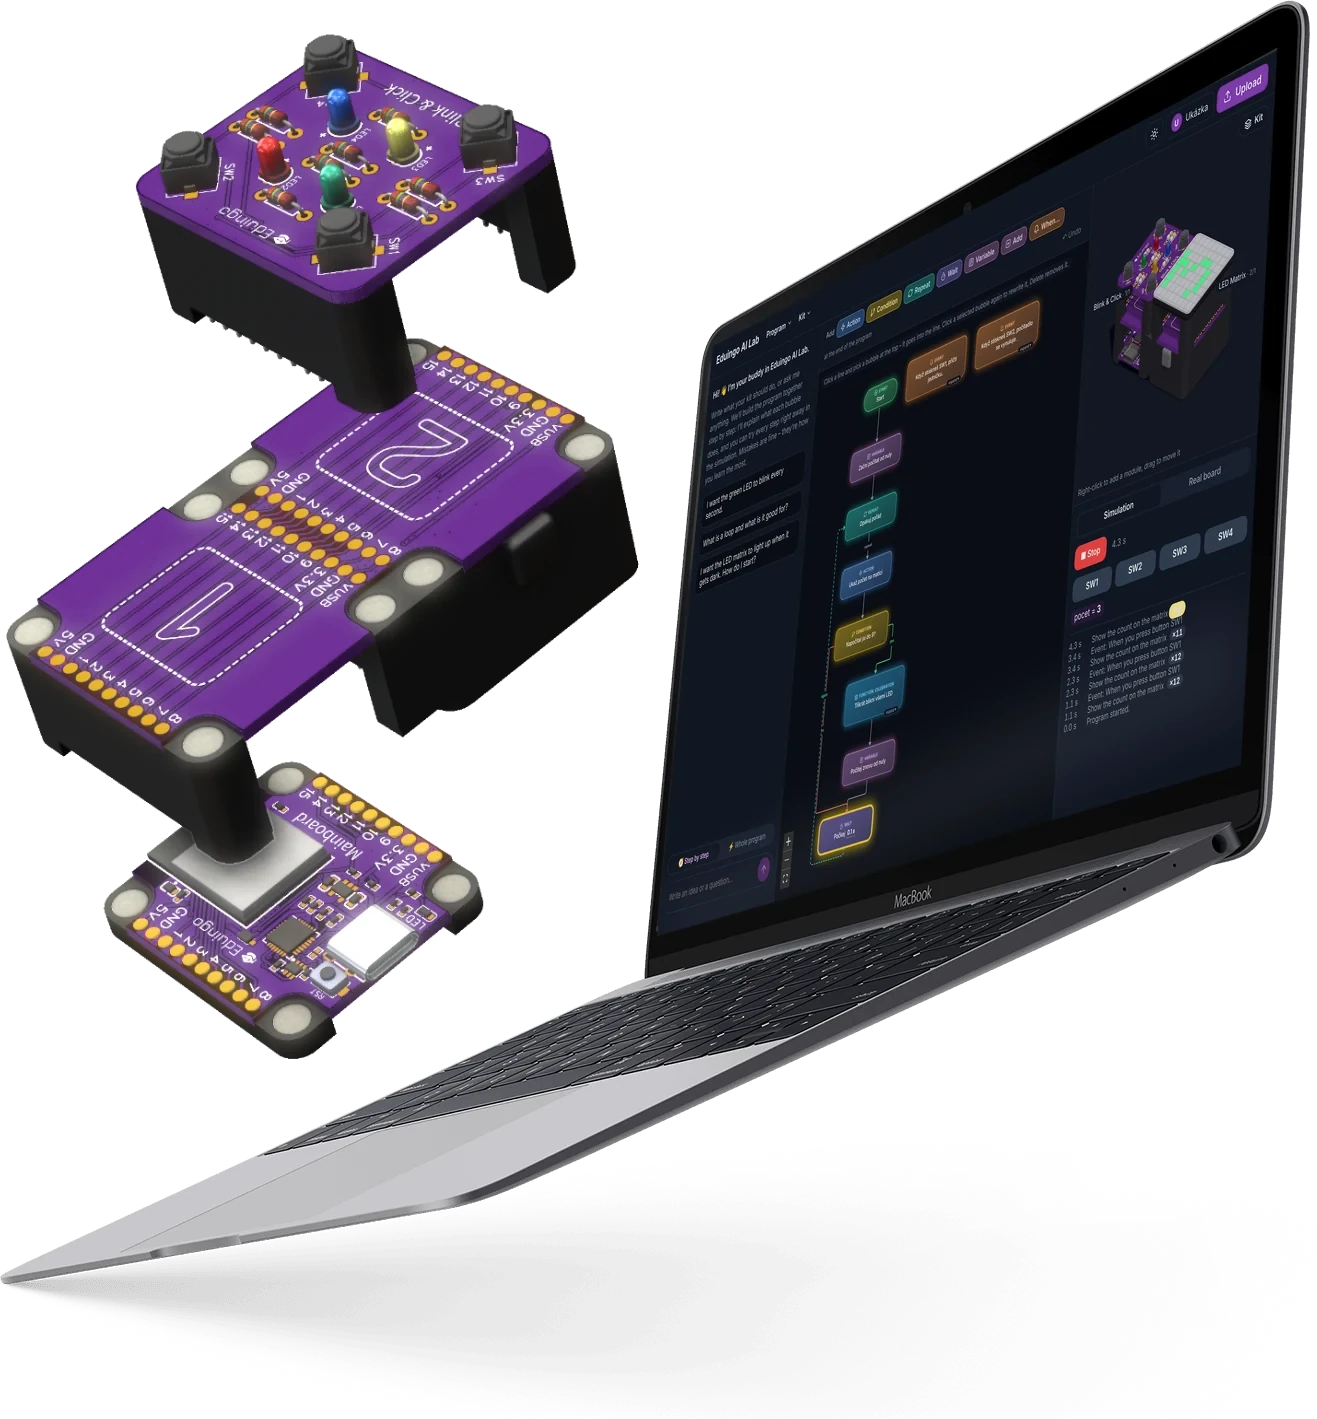
Modules stack on top of each other and hold with magnets. Power and data connect by themselves, with no wires or soldering.
Students describe what the kit should do in their own words. The AI turns it into a flowchart and explains why it works.
Students try the program in a simulation, then upload it to the kit with one button over USB or Bluetooth.
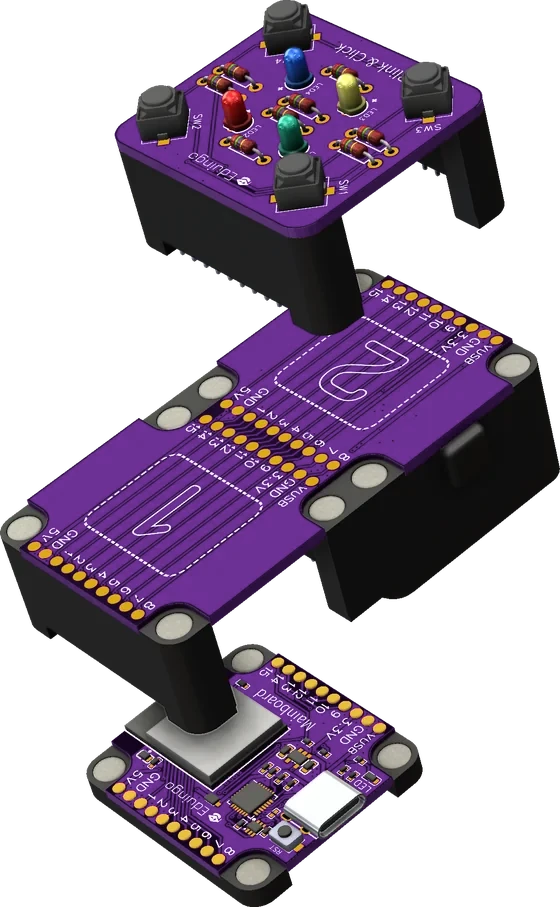
Everything starts with the Mainboard and its ESP32-S3 chip. Modules stack on it into a tower, and each one adds a single job: lights, a display, buttons, sensors or motors.
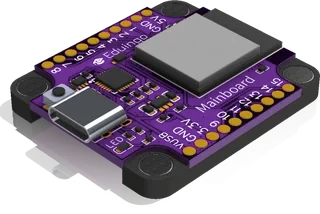 EDU01
The brain of the kit with Wi-Fi and Bluetooth
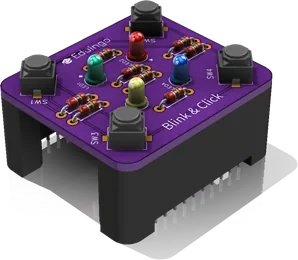 EDU02
Four coloured LEDs and four buttons
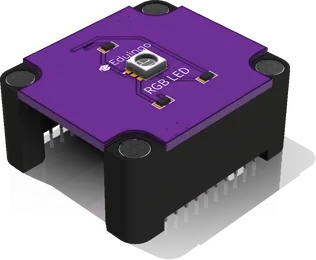 EDU03
One LED that lights up in any colour
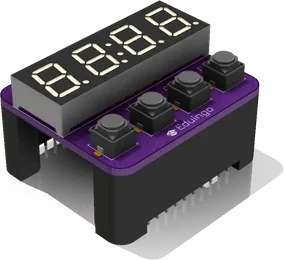 EDU04
Four-digit display for numbers and time
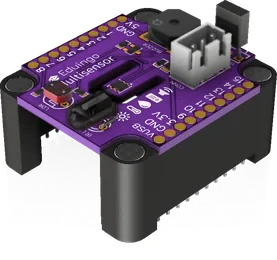 EDU05
Light and flame sensor, buzzer and infrared
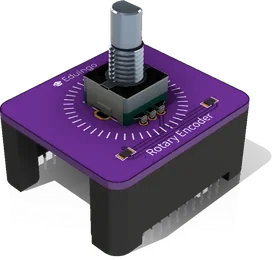 EDU06
Rotary knob with a push button
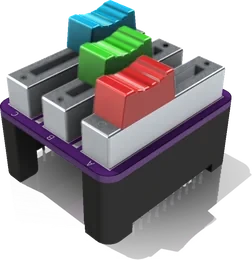 EDU07
Three slide potentiometers
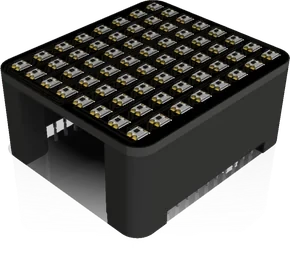 EDU08
Colour LED matrix, 8 × 8 dots
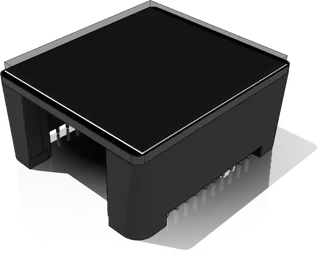 EDU10
Screen for text, numbers and drawings
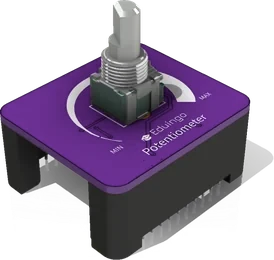 EDU11
Rotary knob from 0 to 100 %
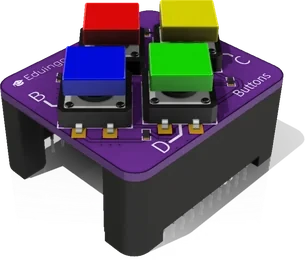 EDU12
Four coloured buttons
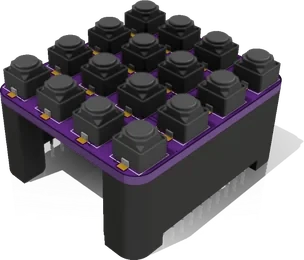 EDU18
Keypad with 16 keys
More modules for AI Lab: Relay, Mosfet, Compass, SDPlayer (MP3), Servos and the Joystick prototype.
AI Lab is a programming environment in the browser. Students describe what their kit should do, and the AI builds a flowchart out of bubbles. The program is not unreadable code but a diagram students understand from the first step.
Programs running in the AI Lab simulation: a running light, fireworks on the LED matrix and a digital clock. The highlighted bubble is the step the program is doing right now.
Type something like “When it gets dark, turn on the LED.” The AI asks back and suggests the first step.
The program is a flowchart of actions, conditions, loops, variables and events. Bubbles can also be added and edited by hand.
The simulation steps through the bubbles and the 3D preview shows what the LEDs, displays and motors do. Modules can be added and moved with the mouse.
One button turns the flowchart into MicroPython and uploads it to the Mainboard over USB or Bluetooth. The diagram can then show what the real board is doing.
In the default Step by step mode the AI builds the program in small steps, explains each one with an everyday comparison and ends with a “Try this…” task. It points out mistakes in the bubbles instead of quietly fixing them. The Whole program mode builds the solution at once, and still explains it.
Teachers create a class, students join with a code or a link and get assignments. Teachers open each submitted program, write feedback, give a grade or send it back for fixes, and see how the whole class is doing.
Each project opens straight in the AI Lab simulation: the flowchart, the 3D kit and the running program. No kit and no account needed.
Cars have green until a pedestrian presses the button. The light goes through yellow to red and the blue LED lets the pedestrian cross.
The display shows minutes and seconds. Button A starts the stopwatch, B stops it and C resets it.
Each of the 16 keys plays a different tone: the program starts at 200 Hz and adds 60 Hz per key. Adding over and over is really multiplying.
When the flame sensor sees fire, the matrix shows a flame, the buzzer wails and the relay turns on a sprinkler. Once the fire is out, a green tick appears.
The board asks the internet for the temperature in Prague and shows it as a big number on the display. No thermometer needed.
The joystick sets the speed: the further you push it, the faster the crane turns and lifts its arm. A press closes the claw.
The classic snake on the LED matrix. Buttons SW1–SW4 turn it, red fruit makes it longer and hitting its own tail restarts the game.
The ball bounces off the walls of the display and you catch it with a paddle moved by the potentiometer. Every hit is a point.
AI Lab has over 120 sample projects in 8 themes, from lights and games to a smart home and the Internet of Things.
A classic kit often ends with plugging in wires and copying code. Eduingo combines magnetic modules that connect by themselves with AI Lab, where students build their own algorithms from steps, conditions and loops and see right away what they do on a real device.
Modules in AI Lab
Sample projects
Project themes, from games to IoT
Students learning with Eduingo
 CEO & CTO
 CEO & Sales
 Emotional Support
Do you have questions about Eduingo or would you like to try it at your school? Contact us through the form below or visit us on our social networks.
The simulation runs in Eduingo AI Lab. If nothing shows up, open it in a new tab.